
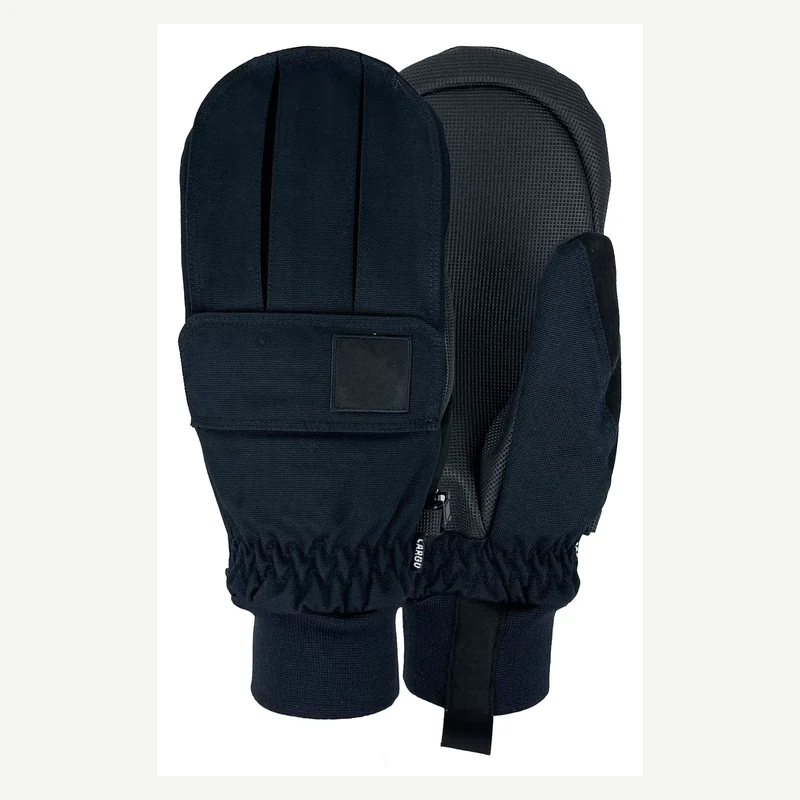
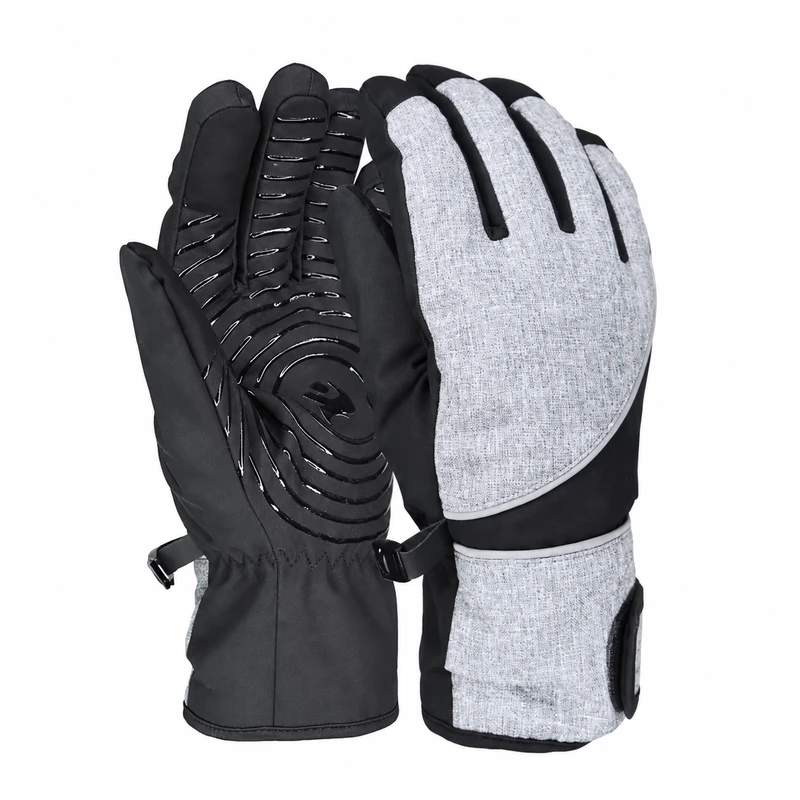
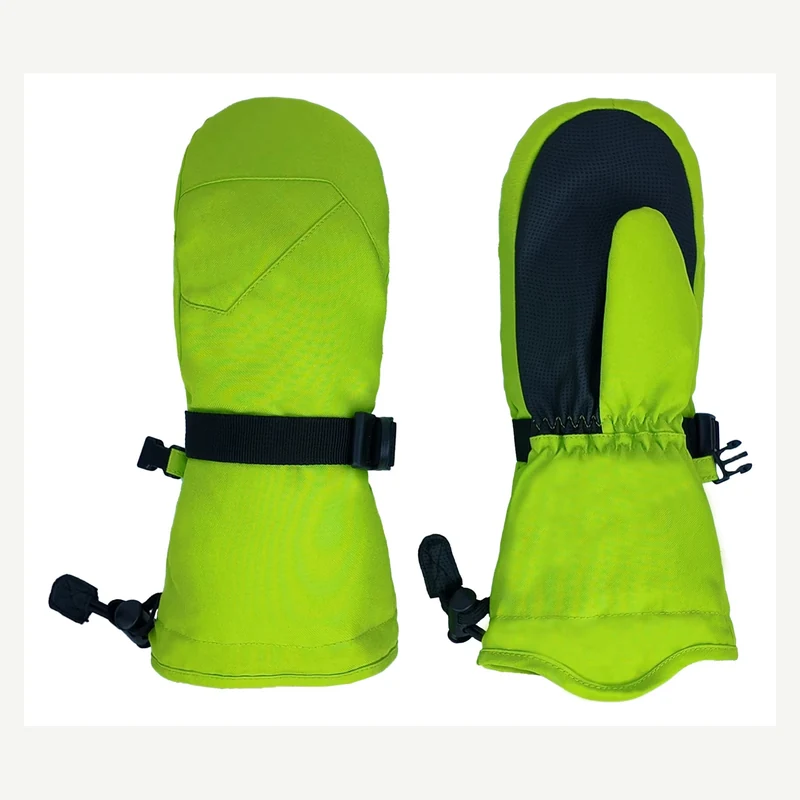
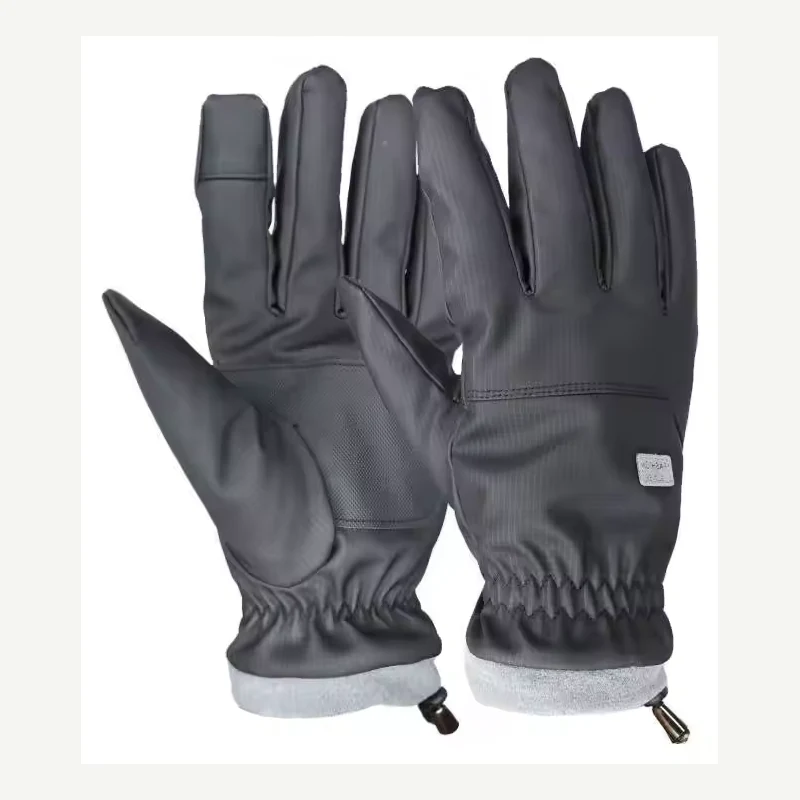
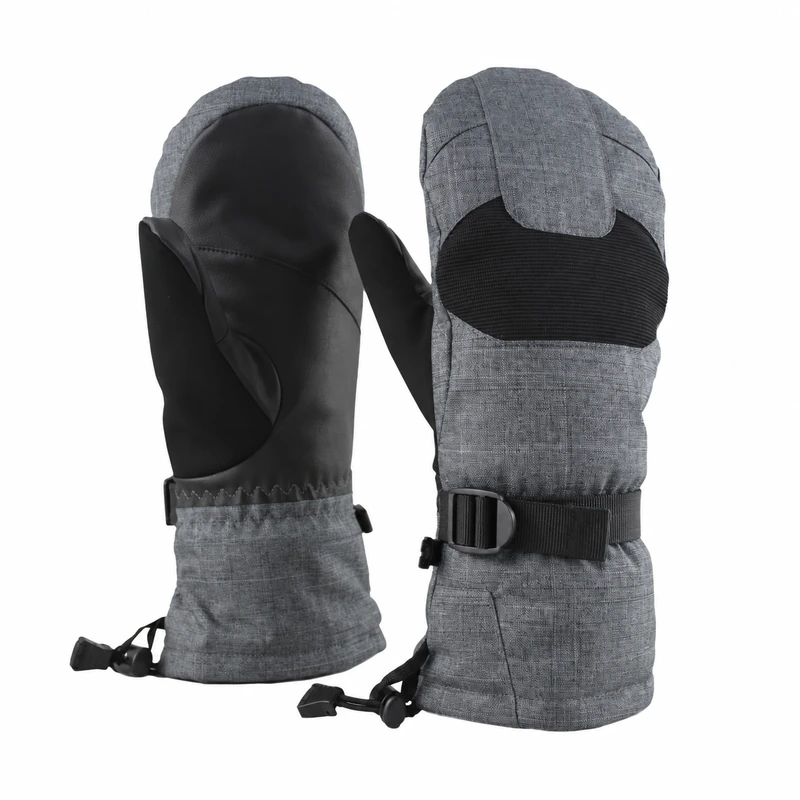
Custom Waterproof Winter Gloves
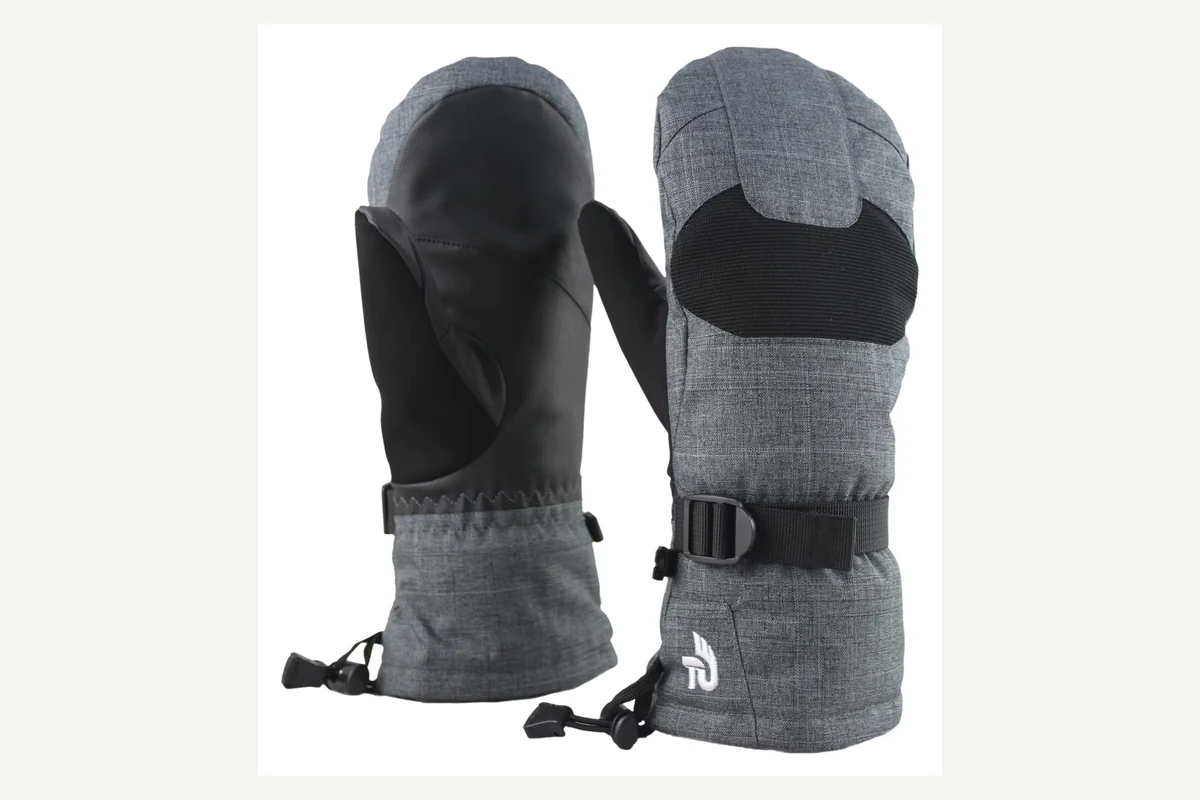
Custom gloves for cold, wet conditions, combining a reviewed shell, waterproof barrier, insulation, and lining. Approve warmth, wet grip, cuff overlap, fit, and private-label details on the complete sample.
- Layer System: Shell, barrier, insulation, and lining by project
- Fit Range: S–XXL or measurements for special sizing
- Cuff Route: Elastic or hook-and-loop tightening
- Branding: Approved method matched to shell and placement
- Packing: Pair packing, labels, retail cards, boxes, or cartons
MOQ and timing vary with materials, layer construction, testing, branding, packing, quantity, and production scheduling.
Request a Quote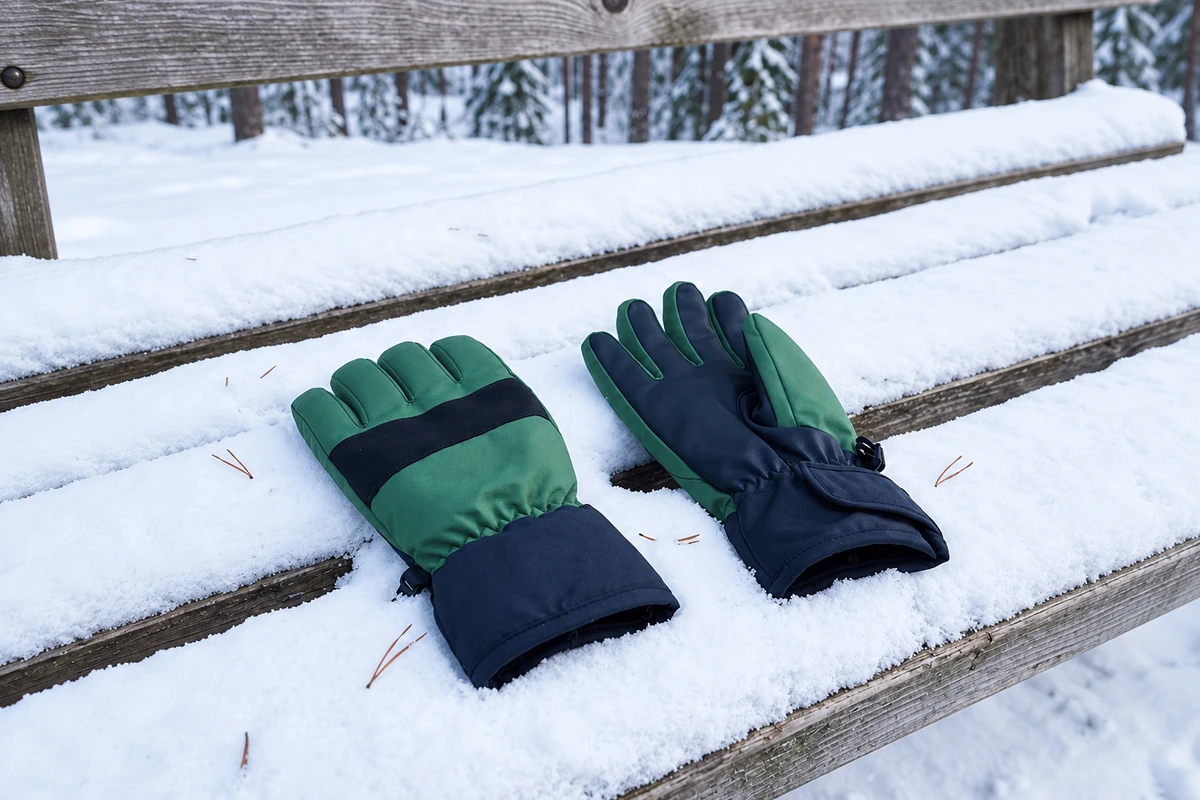
Choose cold and wet protection together
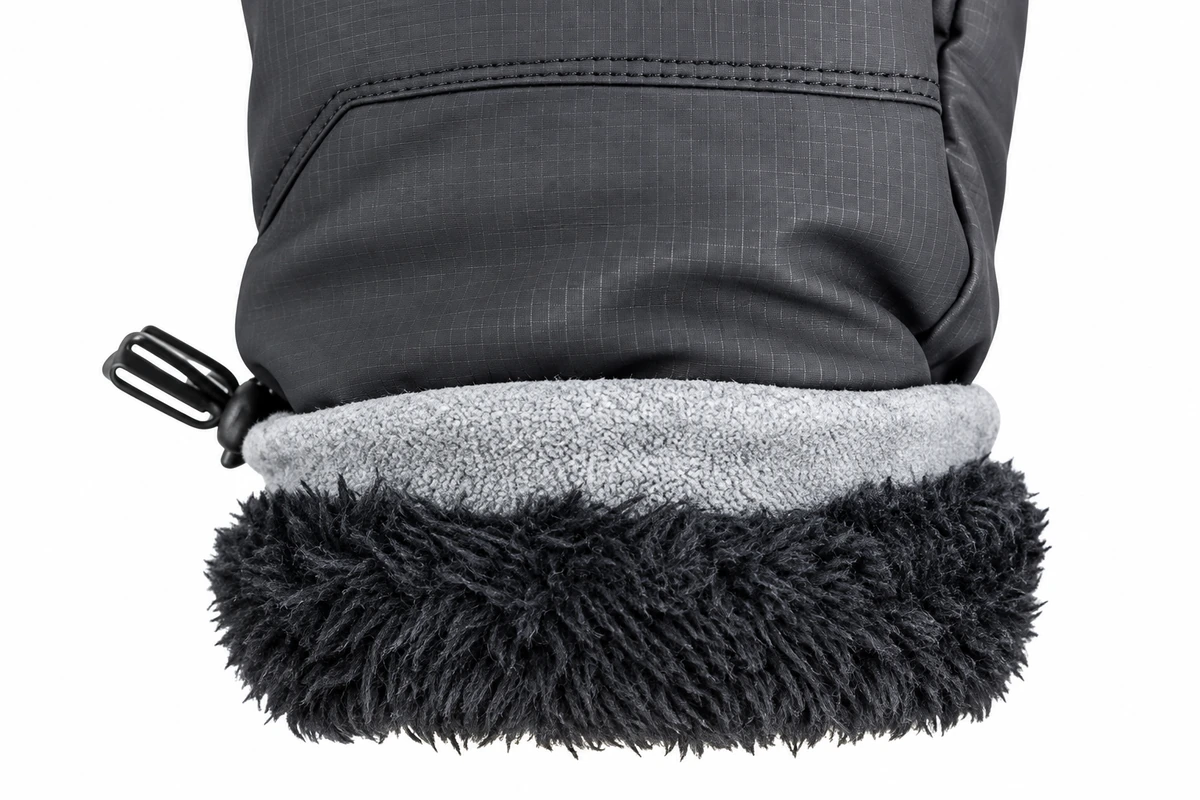
Four-layer build: Review the shell, barrier, insulation and lining as one glove rather than separate material claims. Warmth with usable fit: Check finger space, liner movement and grip with the intended insulation in place. Sleeve and cuff: Compare elastic or hook-and-loop retention and check water entry at the cuff and seams.
Factory Coordination for a Layered Winter Glove
Cutting, sewing and decoration support the outer finish and layered construction, with specialist processing managed within the agreed manufacturing route.
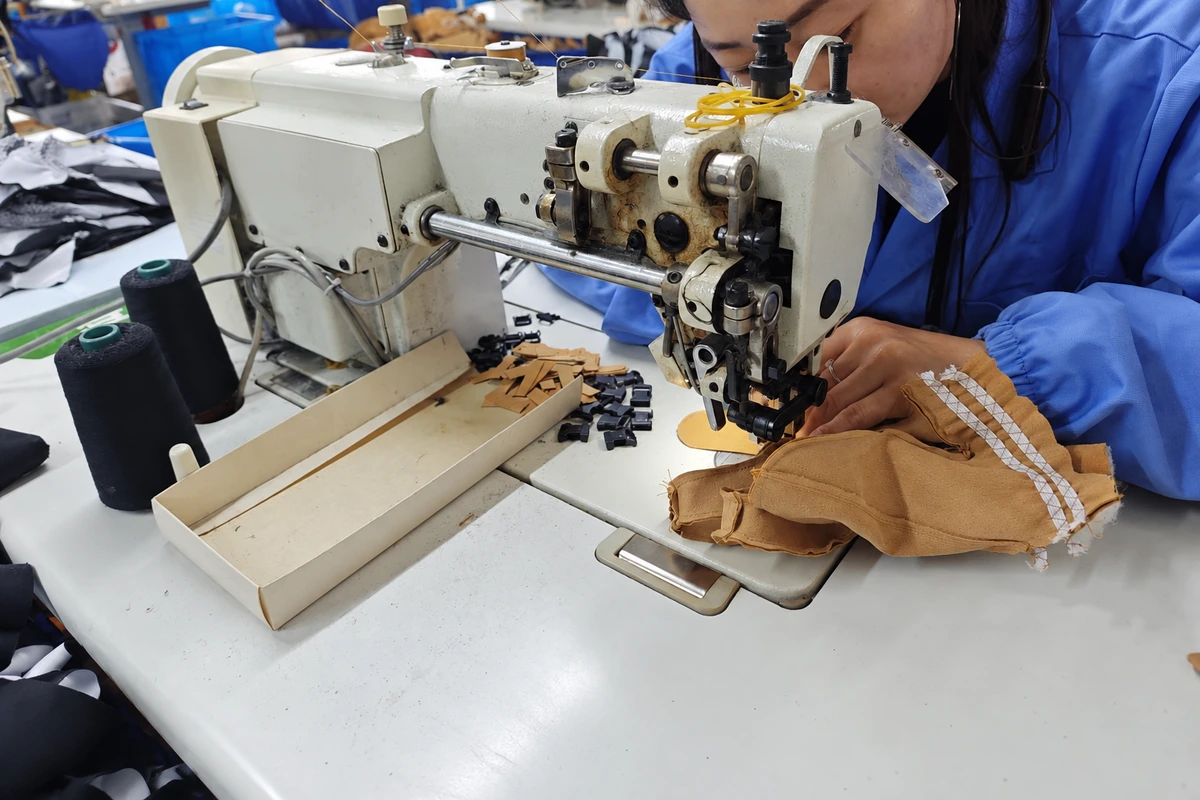
Assembly Across Different Layers
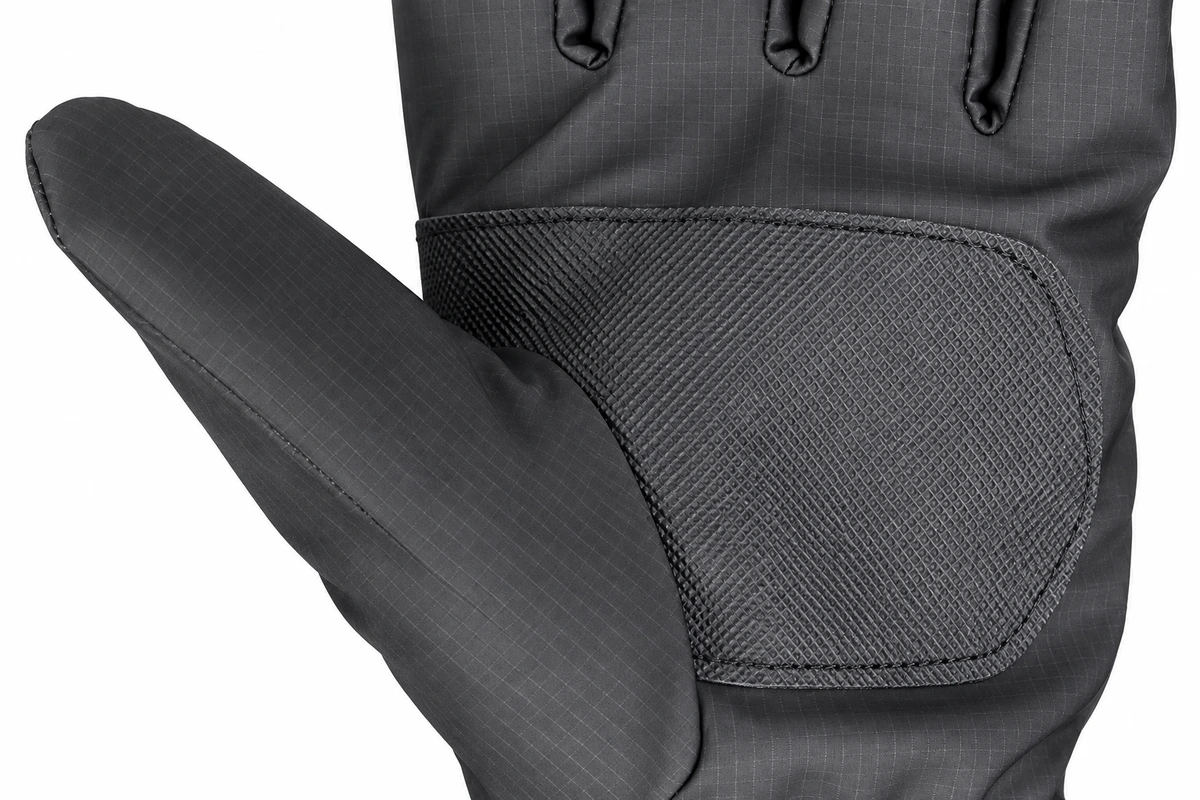
GloveWise works with textile shells, leather components and thermal linings, coordinating cutting and sewing for the selected winter-glove design.
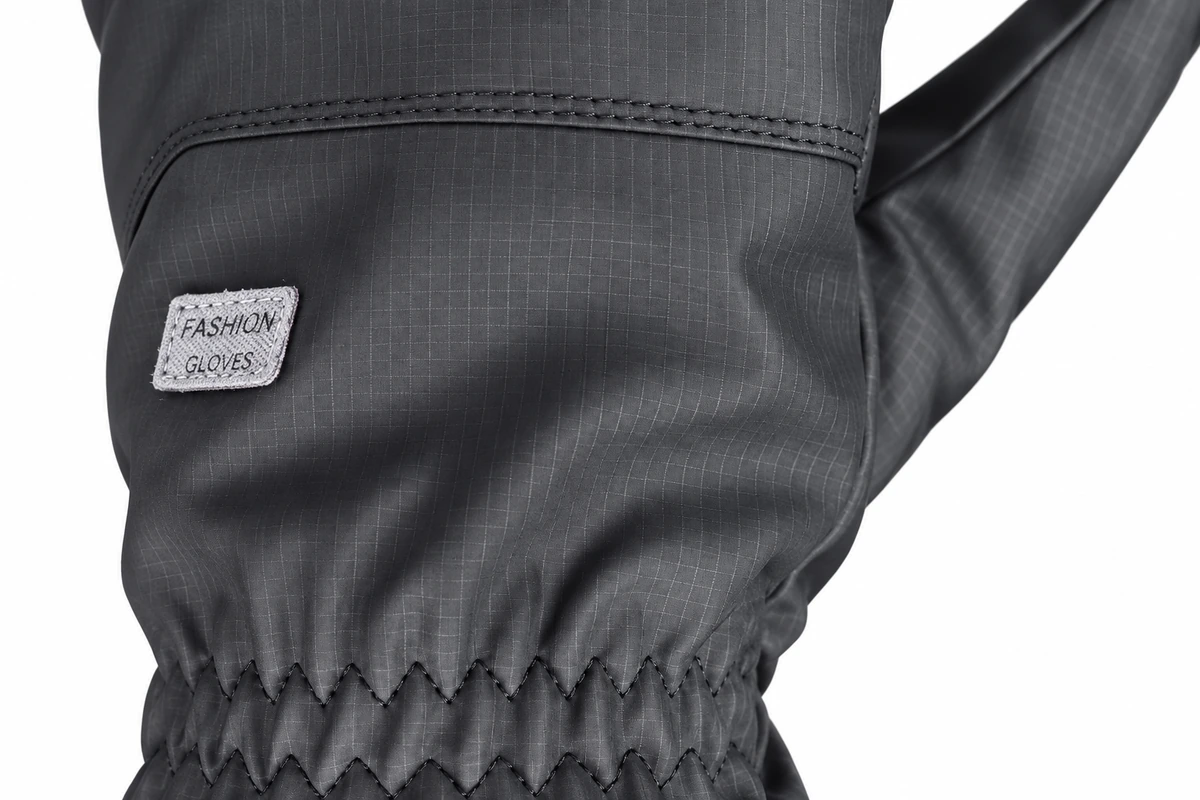
Logo Placement and Assembly Sequence
The logo is developed with the outer component and its assembly sequence to fit the layered construction.
Coordination of Outside Weather Treatments
Required outside weather treatments are managed through supplier qualification, material records and quality records, then coordinated with glove sewing and finishing.
Build the Waterproof Winter Glove as a Layer System
Choose layers together for weather exposure, warmth, moisture movement, hand feel, dexterity and durability under the agreed verification conditions.
- Shell Material
Polyester, nylon, or leather directions may suit retail, outdoor, or work programs.
Confirm hand feel, flexing, abrasion points, color, finish, and compatibility with the selected barrier and branding method. - Waterproof Barrier
Projects may require a membrane or another confirmed waterproof layer inside the glove.
Specify the material route and placement, then assess the complete glove rather than treating the barrier alone as proof of performance. - Thermal Layer
Colder or longer exposure may require added insulation.
Confirm thickness and distribution against warmth goals, activity, finger movement, grip, and the available pattern space. - Inner Lining
Fleece or another approved lining direction supports next-to-skin comfort.
Review softness, moisture feel, attachment, finger insertion, and whether the lining stays correctly positioned during removal.
Check Every Water Entry Path in the Finished Glove
A water-resistant fabric result covers only the tested material. Finished-glove review must also consider openings, joins, repeated movement, surface wear, pressure, duration, and internal moisture generated during use.
- Shell Surface
Rain, wet snow, splash, and damp objects can wet the shell surface.
Define the exposure and distinguish surface wetting from water that passes through the complete glove. - Seams and Joins
Stitching and component connections can create potential water paths in multi-panel gloves.
Review the actual construction and agreed sample test; a membrane or shell result does not automatically cover every join. - Cuff Opening
Gloves may sit under or over a jacket sleeve in moving precipitation.
Confirm cuff fit, tightening, sleeve overlap, entry direction, and removal because water can enter through an open top. - Flex and Wear Zones
Palms, fingers, and joints face repeated bending or contact.
Assess the finished sample after representative movement because creasing, abrasion, and damage can alter performance. - Duration and Internal Moisture
Sweat and condensation may accumulate during longer or higher-activity use.
State exposure time and activity, and distinguish internal moisture from external water penetration during evaluation.
Control Fit Across Shell, Barrier, Insulation, and Lining
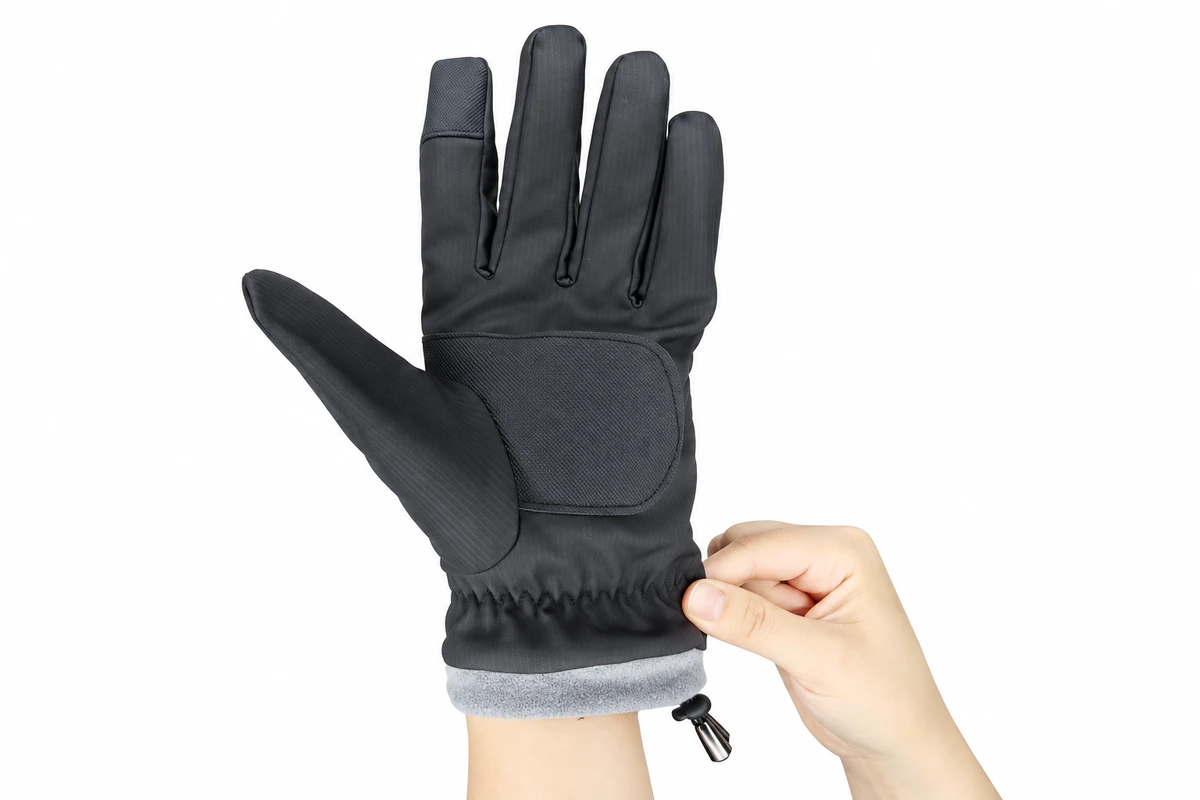
Size the complete layered glove. The approved pattern and sample should allow insulation space without excess movement, compressed insulation, loose fingertips, difficult entry or reduced task control.
- Palm Circumference
Use an agreed measuring method and palm measurement for each size; check fit on the sample. - Finger Length
Finger length affects fingertip control, empty space, and compression.
Confirm each relevant finger proportion on the finished sample, including lining position. - Overall Glove Length
Agree measurement points, glove length and the intended hand and wrist coverage. - Wrist Opening
Wrist opening affects entry, retention, and sleeve compatibility.
Confirm the opening before and after tightening, including bulky clothing where relevant. - S–XXL Size Range
Approve the base size, grading, size labels and quantity for every size. - Special Sizing
Send measurements or a reference glove; pattern feasibility, cost, MOQ and timing need review.
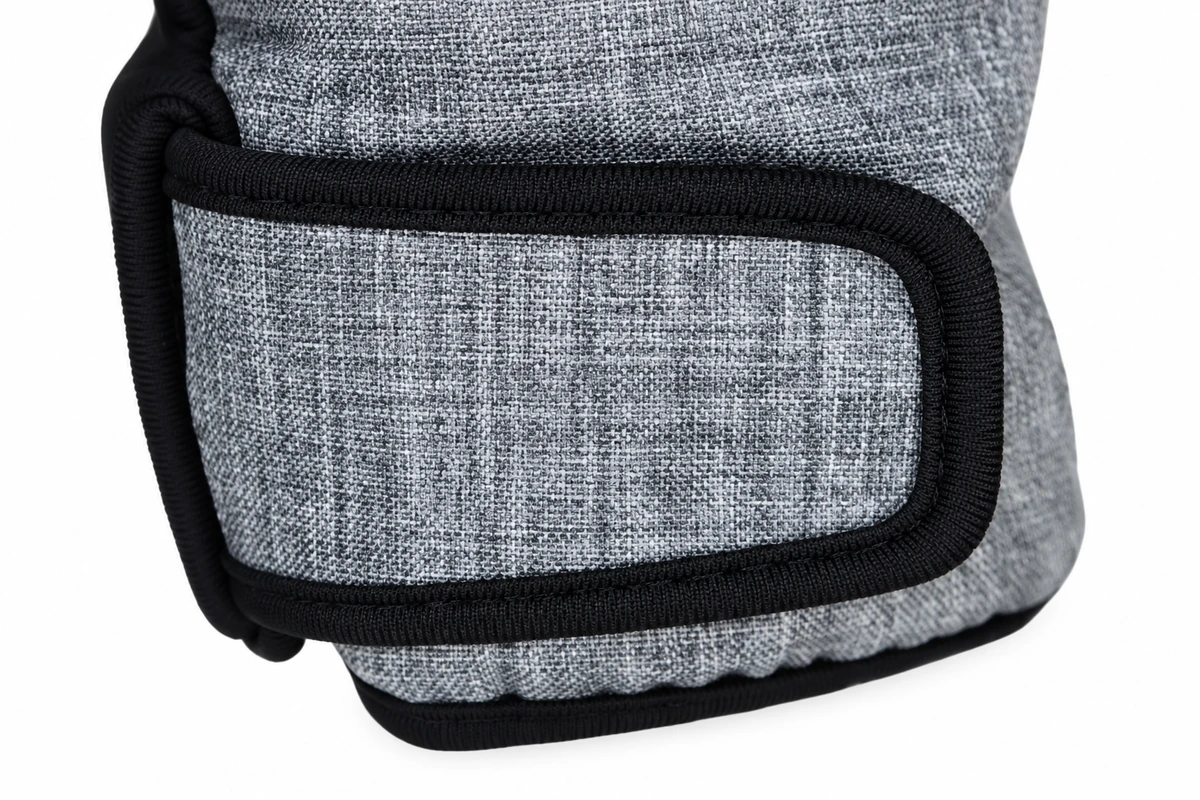
Choose the Cuff Around Sleeve Use and Water Entry
Choose the cuff for entry, retention, sleeve overlap and exposure to cold air, rain or snow. Confirm whether the glove sits under or over outerwear and how it is removed.
- Elastic Wrist
Elastic suits simple retail or daily-use gloves needing quick entry and continuous light retention.
Confirm tension, opening size, comfort, sleeve overlap, and whether the design sufficiently manages the intended exposure. - Hook-and-Loop Tightening
Hook-and-loop provides an adjustable wrist closure for outdoor or work projects.
Confirm strap position, adjustment range, operation while gloved, sleeve interaction, and how the construction relates to the waterproof system.
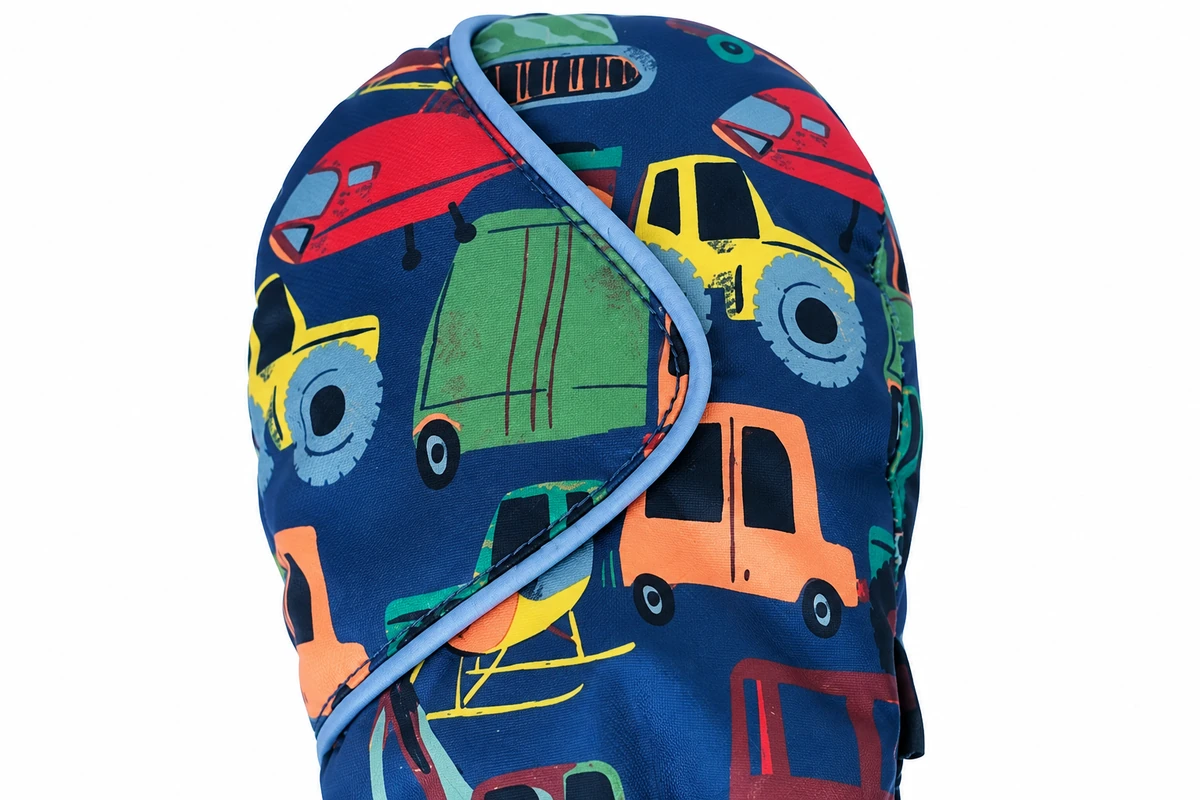
Match the Logo Method to the Shell and Barrier
Select branding for outer material, artwork, placement, quantity, desired finish and layer construction. Approve the branded sample because heat, needles, ink, silicone and coverage can interact differently with each shell.
- Screen Printing
Screen printing suits clear logos on compatible, relatively stable shell areas.
Confirm ink, color, artwork, placement, adhesion, flexing, and the effect of the application sequence on the finished construction. - Heat Transfer
Heat transfer suits detailed multi-color artwork on compatible synthetic surfaces.
Confirm the film, temperature, pressure, placement, surface finish, and sample durability before bulk approval. - Hot Stamping or Heat Pressing
These methods suit restrained marks or effects on materials compatible with heat and pressure.
Confirm shell compatibility, mark definition, temperature, pressure, location, and whether the process changes the surface. - Embroidery
Embroidery provides a stitched appearance for textile brand marks.
Confirm stitch area, backing, bulk, needle penetration, placement, and how the embroidered panel integrates with the waterproof system. - Silicone Printing
Silicone printing creates raised or flexible marks on suitable shell locations.
Confirm silicone type, thickness, grip or branding purpose, cure, adhesion, flexing, and the approved sample appearance. - Sublimation Transfer
Sublimation supports broad graphics on compatible polyester components before assembly.
Confirm printable material, color artwork, panel coverage, production sequence, and color approval; it is not suitable for every shell.
Related Custom Products
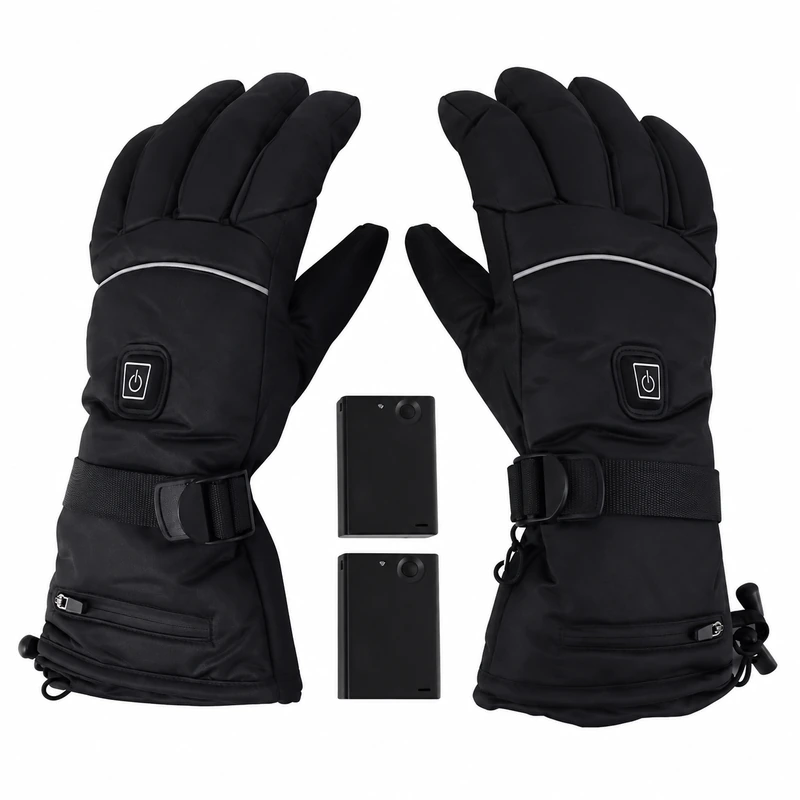
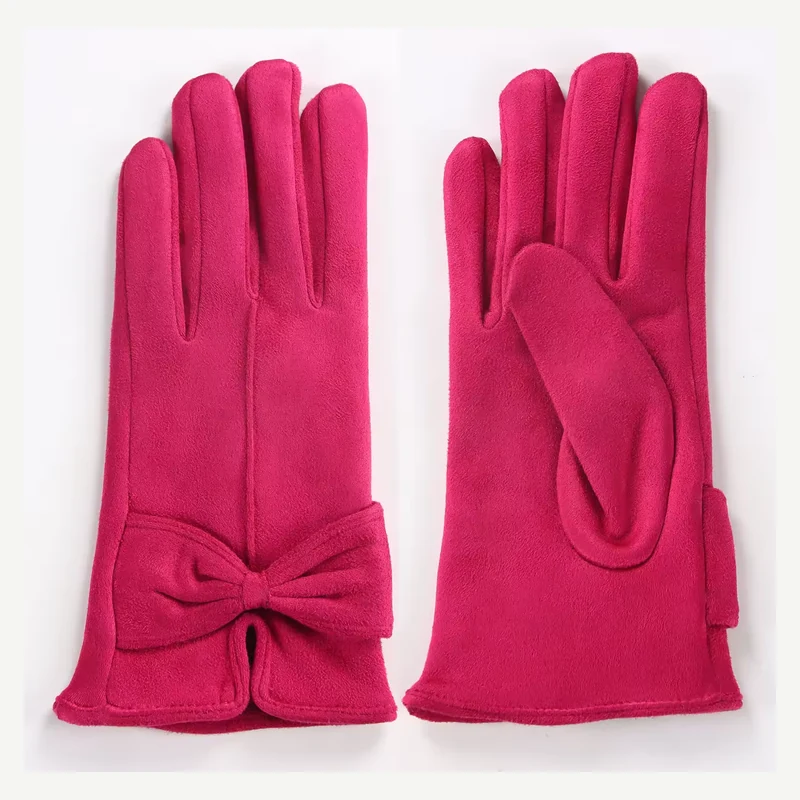
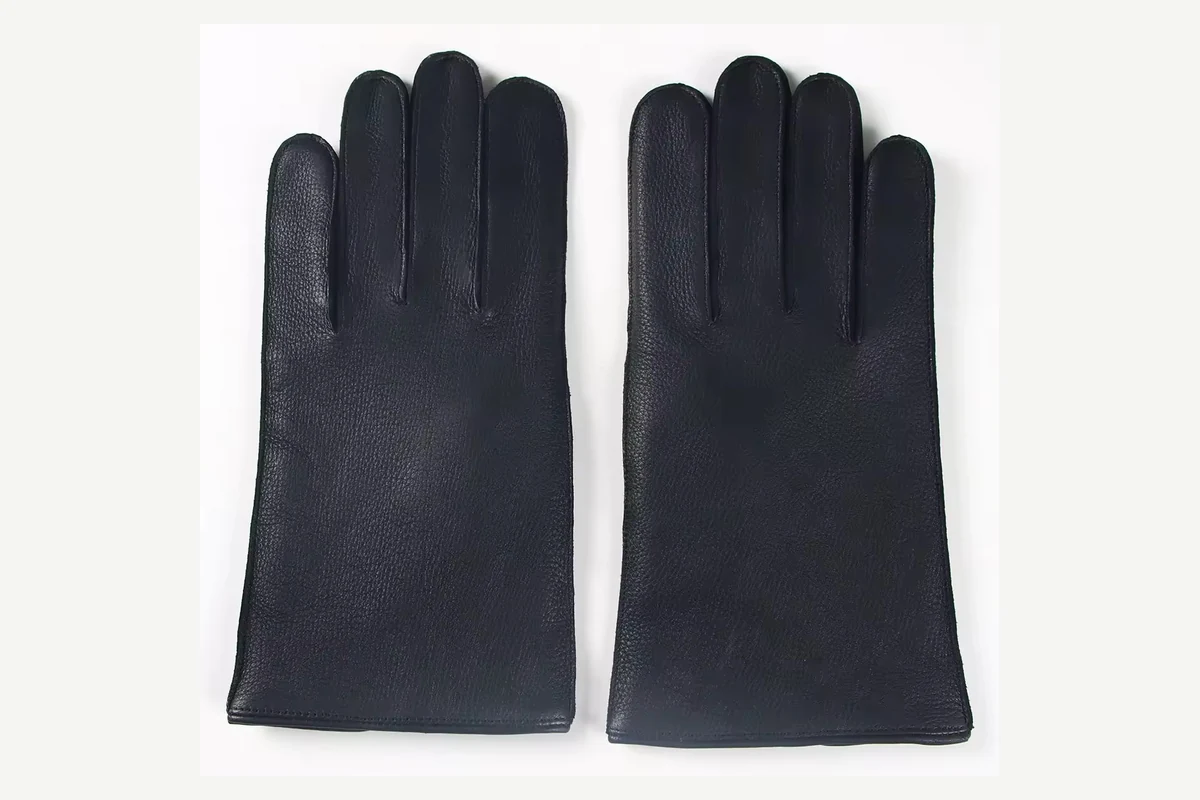
Compare related custom waterproof, thermal, heated, and fleece gloves.
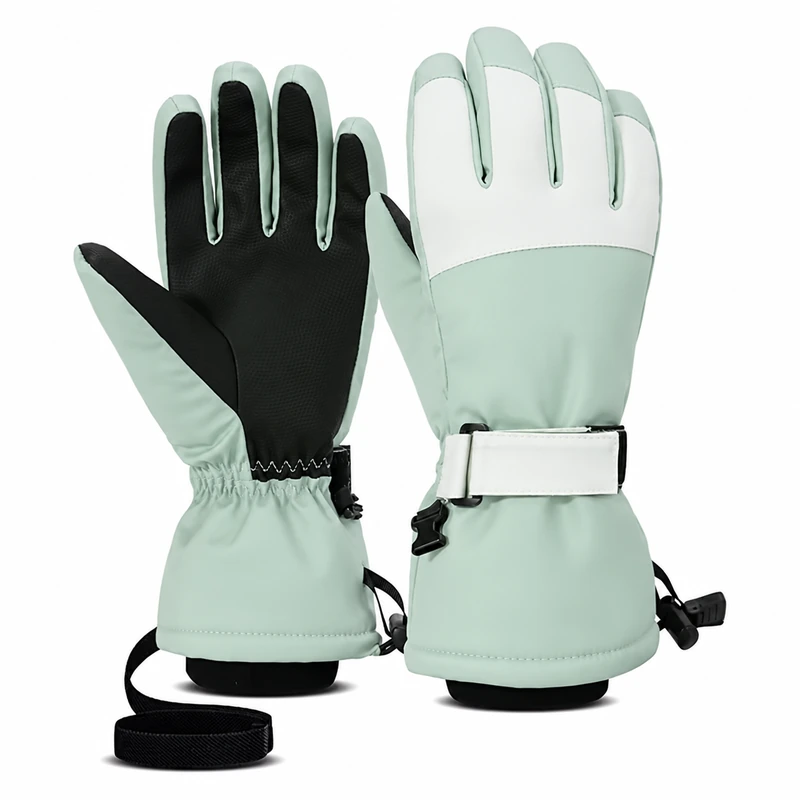
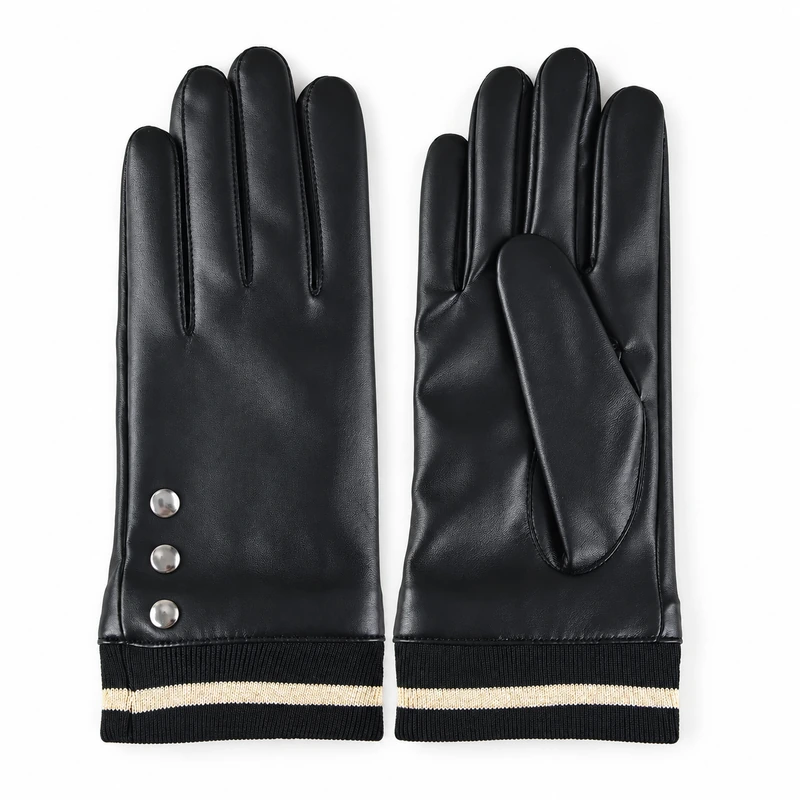
Validate the Finished Glove, Not Only the Fabric
Confirm materials and construction against the approved specification, then inspect fit, lining position, stitching, symmetry, branding, pairing, and packing. Add project-agreed wet and cold exposure checks to the finished sample; fabric data alone does not establish whole-glove performance.
Review Your Waterproof Winter Glove Project
Share your weather conditions and quantity for review.
Request a Review